Free Shipping on orders over R3,999. T's&C's Apply.

Pressure Washer Guide
How to Strip Paint with a Pressure Washer
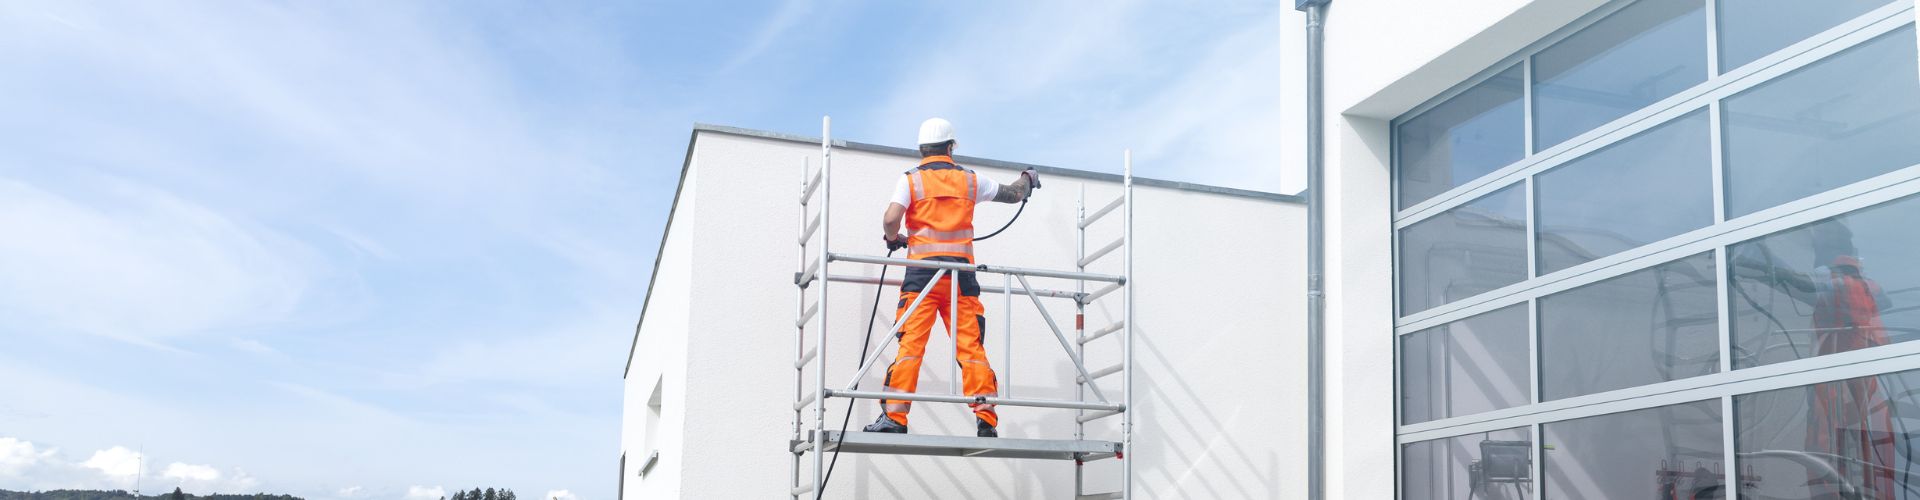
Are you looking to clean up your home and add a new layer of paint to the exterior of your home? When you start looking to re-paint your home’s exterior it is important to remove old flaky paint for the best new fresh look.
While stripping the old layer of paint may be a tedious job, with the right tools and equipment it can make the job a whole lot more easier. One of the most effective ways to strip paint is by using a pressure washer with a pressure of a minimum of 150 bar pressure, this will ensure the best result to put a new layer of paint on the surface.
Why Use a Pressure Washer for Stripping Paint
Pressure washers are the most effective equipment when it comes to stripping paint from surfaces. While Kranzle pressure washers offer a wide range of advantages and benefits:
- Efficient: high pressure washers with an operating pressure of more than 150 bar makes the job quicker and easier compared to manually scraping off old paint.
- Accessibility: While there are different high pressure washers to choose from electrical pressure washers to petrol pressure washers, petrol pressure washers allow for the most convenient paint stripping as they can run independently without a close electric source.
Tools and Equipment You'll Need
The tools and equipment you’ll need will determine the efficiency of your paint stripping and re-painting of the exterior of your home. It is also important to wear protective gear when carrying out these jobs.
- Pressure washer (with at least 150 bar operating pressure for the most effective paint removal.)
- Appropriate nozzles – we recommend using either a Dirtkiller or Turbokiller nozzle, these allow for an increase of 50% in cleaning power and help get the job done quicker.
- Use appropriate safety gear: wear eye protection gear as paint flakes will be flying around and can land in your eye and cause harm and with long-sleeved clothing.
- Drop cloths and tarps to protect the surrounding area and will help protect surrounding areas.
- Scrub brush for touch ups in possible areas where the pressure washer wasn’t able to lift the paint from the surface.
Choosing the Correct Pressure Washer
While Kranzle offers a wide range of pressure washers, it will always depend on your application and frequency of use. We provide electrical pressure washers for those that generally have a electrical source close to where you will be carrying out the job, as well as petrol pressure washer options our pressure washing buying guide can assist you with choosing the correct machine.
For general paint removal at home, we recommend a domestic machine as these projects aren’t done on a daily basis. We would recommend a domestic pressure washer for these tasks or a light commercial pressure washer for better results. As these pressure washers can also be used for cleaning your vehicles at home effectively.
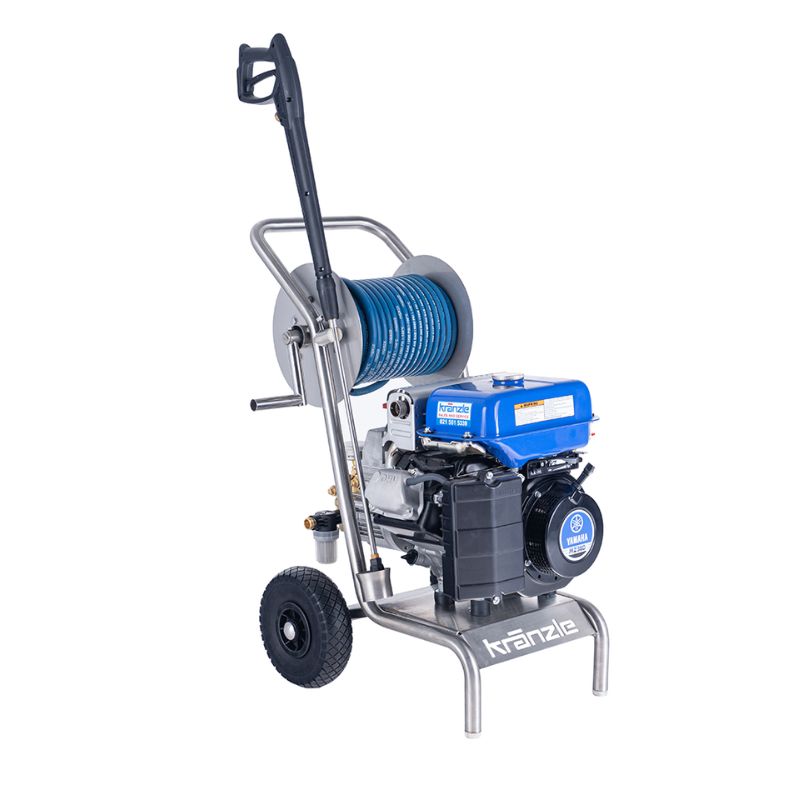
For painting contractors, we generally recommend a petrol pressure washer as these can run independently from a power source and offer more powerful cleaning options. We recommend the Kranzle B16/220 Yamaha Petrol Pressure Washer that runs at a powerful 220 bar operating pressure and a large amount of water flow rate of 16 l/minute. This will allow you the best cleaning result.
Step-by-Step Guide to Stripping Paint with a Pressure Washer
-
Prepare the area
Start by preparing the area where you’ll be working and stripping the paint. It’s important to cover the area with cloths or tarps so that the pre-strip cleaning process is easier. Covering any plant beds, furnitiure and any areas you don’t want water and paint being left behind. Ensure that you have enough space to work around with no objects in the way of working.
-
Choose the right nozzle
Choosing the appropriate nozzle is important for effective paint stripping. While a flat jet nozzle can work, a more effective option would be to use a Dirtkiller or Turbokiller nozzle. These nozzles provide a strong cleaning effect that lifts the paint from the surface effectively. It is also important to consider the surface on which the paint is on as you may need to use a flat jet nozzle instead if the paint is on a softer surface. These Turbokiller and Dirtkiller nozzles may damage softer surfaces.
-
Set Up Your Pressure Washer
It’s important to connect your pressure washer to a water source that provides enough water flow to run at the desired pressures. Ensure that if you using a 16 l/minute pressure washer there is a sufficient water flow to provide more than 16 l/min. Adjust the pressure to your desired pressure rating, usually on brick surfaces that you are removing paint from you can operate at 220 bars. This will ensure a quicker result.
-
Test on a Small Area
When you first start pressure washing the surface, test the operating pressure on a small area this ensures that the pressure is appropriate and the surface underneath the paint won’t get damaged.
-
Start Stripping the Paint
It’s important that when you are starting to pressure wash the surface hold the gun continuously this is to avoid excessive maintenance further down the line. While holding the trigger of the gun hold the gun at a 45 degree angle to the surface. This will be the most effective angle that will lift the paint rather than drive it into the surface beneath the paint. Spraying the surface in a continuous sweeping motion, while using a dirtkiller or turbokiller don’t move the gun to quickly move it in a motion to see that the layer of flaky paint gets removed before continuing on to the next section.
-
Work Methodically
Work in small sections to maintain control and efficiency. This also ensures that no spots are left with remaining paint on the surface and an even paint removal. In areas with multiple layers of paint, you may need to overlap it several times to ensure the best paint removal.
-
Touch Up Remaining Paint
After using the pressure washer you may find that some paint might still be visible on the surface. Using the scrub brush to remove stubborn spots. If these are excessive amounts of old paint left behind repeat the process with the pressure washer to remove the majority of the paint.
-
Clean Up and Dry
Before you can continue on to the painting stage you need to rinse the area to ensure there is no flaky paint in the area that could be applied back to the surface. You need to allow the surface to dry completely before proceeding with any further treatment and preparing the surface for painting.
Tips for Best Paint Removal
- Safety first: always wear safety goggles, gloves and protective clothing. High pressure washers can cause serious damage If used incorrectly, it’s important to read the operating manuals before use.
- Surface considerations: Different surfaces require different approaches. Wood brick, and metal each have unique characteristics that affect how you should strip paint from them.
Conclusion
While a pressure washer may be an expensive investment for stripping paint for repainting your home, it offers you the benefit of saving you time and effort. This makes it the preferred method for many DIY enthusiasts and painting contractors. By following these steps and taking the necessary precautions you can remove any old flaky paint on any surface and get it repainted.